Floating Vertical Menu For Blogger

A good and clear navigation is very important for a blog's popularity and Seo. A blog having clear navigation has more traffic than the blog having a unclear navigation because the visitors which visits blogs for desired content are unable to find it. Navigation is not just about having categories for content or having a sitemap but a menu also plays an important role in a blog's navigation. since blogger hasn't provided any option to add a menu directly like wordpress and other sites therefore blogger have to add it from other sites. We can find a number of sites across internet which provides menus for free but most of these menus are either not working in blogger or are very difficult to use specially for beginner it is very difficult to add a menu in blogger.
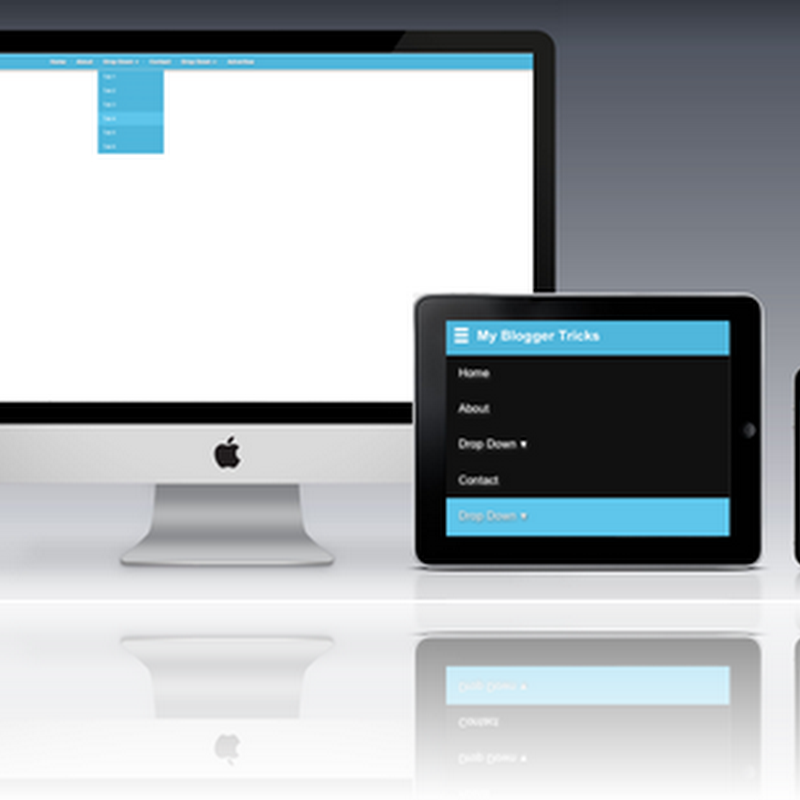
Therefore I have shared almost every type of menu like accordian menus with different styles, stitched ribbon menus, responsive vertical menu and responsive horizontal menuwith step by step tutorials so a blogger whether he/she is professional or beginner he can use anyone of the menu which I have shared in his/her blog easily just by following tutorials. I have shared almost every type of menu in my blog but few days ago I saw a responsive stylish floating menu in a blog and I saw so many comments of visitors asking for that menu so I thought to share it with you. May be you have seen it because now a days every webmaster and blogger is trying something new to make his blog/site impressive. You can see a demo of floating vertical menu in below animated image, hope you like it:

This menu has an elegant, responsive and stylish design, it works on Css but its sliding/floating works by jquery. It is decorated by Css but to make floating effect I have added a jquery code. You can make sliding/floating effect in any gadget using the same script by reading a post about how to make sidebar floating in blogger, here I have shown how to make sidebar floating in blogger and also how to make any gadget float in blogger.
How to add floating menu in blogger:
To add this menu in your blog follow below steps but before that change you blog's layout design as you can see that dropdown of this menu is at right side therefore you have to add this menu of left side of your blog. I have shared a post recently in which I have shown how to change design of layout in blogger, read that post here and change layout design of your blog then follow below steps to make add it in your blog make it floating. If you already have space for adding a gadget in left side of your blog then just follow below steps and you are done:
Step 1: Go to blogger dashboard.
Step 2: Click on layout in the menu on left side.
Step 3: Click on add a gadget, make sure to add gadget in left side of your blog if you don't have space for adding a gadget in left side of your blog then follow this post to make space for gadget on left side by changing your blog's layout style.
Step 4: When you click on add a gadget a small window will be opened scroll it down and click on Html/javascript.
Step 5: Copy the below code and paste it into Html/javascript winodow:
<div id='cssmenu'>
<ul>
<li><a href='#'><span>Home</span></a></li>
<li class='active has-sub'><a href='#'><span>Products</span></a>
<ul>
<li class='has-sub'><a href='#'><span>Product 1</span></a>
<ul>
<li><a href='#'><span>Sub Product</span></a></li>
<li class='last'><a href='#'><span>Sub Product</span></a></li>
</ul>
</li>
<li class='has-sub'><a href='#'><span>Product 2</span></a>
<ul>
<li><a href='#'><span>Sub Product</span></a></li>
<li class='last'><a href='#'><span>Sub Product</span></a></li>
</ul>
</li>
</ul>
</li>
<li><a href='#'><span>About</span></a></li>
<li class='last'><a href='#'><span>Contact</span></a></li>
<li><a href='#'><span>Sitemap</span></a></li>
</ul>
</div>
Step 6: Click on save and move to step 7.
Step 7: Select template in the menu and click on Edit Html.
Step 8: Click anywhere in the Html code and search for ]]></b:skin> by using Ctrl+F on your keyboard.
Step 9: Copy the below code and paste it just above ]]></b:skin>:
@charset "UTF-8";
/* Some stylesheet reset */
#cssmenu > ul {
list-style: none;
margin: 0;
padding: 0;
vertical-align: baseline;
line-height: 1;
}
/* The container */
#cssmenu > ul {
display: block;
position: relative;
width: 150px;
/* The list elements which contain the links */
}
#cssmenu > ul li {
display: block;
position: relative;
margin: 0;
padding: 0;
width: 100%;
}
/* General link styling */
#cssmenu > ul li a {
/* Layout */
display: block;
position: relative;
margin: 0;
border-top: 1px dotted #3a3a3a;
border-bottom: 1px dotted #1b1b1b;
padding: 11px 20px;
/* Typography */
font-family: Helvetica, Arial, sans-serif;
color: #d8d8d8;
text-decoration: none;
text-transform: uppercase;
text-shadow: 0 1px 1px #000;
font-size: 13px;
font-weight: 300;
/* Background & effects */
background: #282828;
}
/* Rounded corners for the first link of the menu/submenus */
#cssmenu > ul li:first-child > a {
border-top-left-radius: 4px;
border-top-right-radius: 4px;
border-top: 0;
}
/* Rounded corners for the last link of the menu/submenus */
#cssmenu > ul li:last-child > a {
border-bottom-left-radius: 4px;
border-bottom-right-radius: 4px;
border-bottom: 0;
}
/* The hover state of the menu/submenu links */
#cssmenu > ul li > a:hover,
#cssmenu > ul li:hover > a {
color: #ffffff;
text-shadow: 0 1px 0 rgba(0, 0, 0, 0.3);
background: #54cdf1;
background: -webkit-linear-gradient(#72d4f2, #54cdf1);
background: -moz-linear-gradient(#72d4f2, #54cdf1);
background: linear-gradient(#72d4f2, #54cdf1);
border-color: transparent;
}
/* The arrow indicating a submenu */
#cssmenu > ul .has-sub > a::after {
content: "";
position: absolute;
top: 16px;
right: 10px;
width: 0px;
height: 0px;
/* Creating the arrow using borders */
border: 4px solid transparent;
border-left: 4px solid #d8d8d8;
}
/* The same arrow, but with a darker color, to create the shadow effect */
#cssmenu > ul .has-sub > a::before {
content: "";
position: absolute;
top: 17px;
right: 10px;
width: 0px;
height: 0px;
/* Creating the arrow using borders */
border: 4px solid transparent;
border-left: 4px solid #000;
}
/* Changing the color of the arrow on hover */
#cssmenu > ul li > a:hover::after,
#cssmenu > ul li:hover > a::after {
border-left: 4px solid #ffffff;
}
#cssmenu > ul li > a:hover::before,
#cssmenu > ul li:hover > a::before {
border-left: 4px solid rgba(0, 0, 0, 0.3);
}
/* THE SUBMENUS */
#cssmenu > ul ul {
position: absolute;
left: 100%;
top: -9999px;
padding-left: 5px;
opacity: 0;
width: 140px;
/* The fade effect, created using an opacity transition */
-webkit-transition: opacity 0.3s ease-in;
-moz-transition: opacity 0.3s ease-in;
transition: opacity 0.3s ease-in;
}
/* Showing the submenu when the user is hovering the parent link */
#cssmenu > ul li:hover > ul {
top: 0px;
opacity: 1;
}
<script type='text/javascript' src='http://ajax.googleapis.com/ajax/libs/jquery/1.3.2/jquery.min.js?ver=1.3.2'></script>
<script type="text/javascript">
$(function() {
var offset = $("#cssmenu").offset();
var topPadding = 0;
$(window).scroll(function() {
if ($(window).scrollTop() > offset.top) {
$("#cssmenu").stop().animate({
marginTop: $(window).scrollTop() - offset.top + topPadding
});
} else {
$("#cssmenu").stop().animate({
marginTop: 0
});
};
});
});
</script>
Step 11: Click on save template and you are done, open your blog to see floating menu.
Customization:
All changes that you can make in this menu is adding or removing button and putting your blog links in the buttons, so read below to learn how to add or remove a button and add links in this menu:
- Replace black colored hashes(#) in the code used in Step 5 with links. For example if you want to add homepage link of your blog the replace # with homepage link in the code used in step 5 the overall code should look like below code:
<li><a href='http://www.abc.blogspot.com'><span>Home</span></a></li>
- To change name of an existing button replace the text of the button with the name which you want. Say that you want to replace Home withHomepage now all you have to do is to remove Home and type Homepageinstead of Home, the overall code should like:
<li><a href='http://www.abc.blogspot.com'><span>Homepage</span></a></li>
- To add a single new button in the menu you have to add below piece of code after the button where you want the button to exist. For example you want to add a new button having name New button after Homebutton now you have to paste below piece of code below the Home button's code:
<li><a href='#'><span>New button</span></a></li>
The overall code should look like below code:
<div id='cssmenu'>
<ul>
<li><a href='#'><span>Home</span></a></li>
<li><a href='#'><span>New button</span></a></li>
<li class='active has-sub'><a href='#'><span>Products</span></a>
<ul>
<li class='has-sub'><a href='#'><span>Product 1</span></a>
<ul>
<li><a href='#'><span>Sub Product</span></a></li>
<li class='last'><a href='#'><span>Sub Product</span></a></li>
</ul>
</li>
<li class='has-sub'><a href='#'><span>Product 2</span></a>
<ul>
<li><a href='#'><span>Sub Product</span></a></li>
<li class='last'><a href='#'><span>Sub Product</span></a></li>
</ul>
</li>
</ul>
</li>
<li><a href='#'><span>About</span></a></li>
<li class='last'><a href='#'><span>Contact</span></a></li>
<li><a href='#'><span>Sitemap</span></a></li>
</ul>
</div>
- To add a drop-down button having sub buttons you have to add below piece of code in the code used in step 5:
<li class='active has-sub'><a href='#'><span>Products</span></a>
<ul>
<li class='has-sub'><a href='#'><span>Product 1</span></a>
<ul>
<li><a href='#'><span>Sub Product</span></a></li>
<li class='last'><a href='#'><span>Sub Product</span></a></li>
</ul>
</li>
<li class='has-sub'><a href='#'><span>Product 2</span></a>
<ul>
<li><a href='#'><span>Sub Product</span></a></li>
<li class='last'><a href='#'><span>Sub Product</span></a></li>
</ul>
</li>
The above code has drop-down buttons and these buttons also has drop-down buttons now if you want only drop-down buttons(single drop-down) say that you want to have a button named About and its buttons Company, Author and blog then you have to add only below piece of code:
<li class='has-sub'><a href='#'><span>About</span></a>
<ul>
<li><a href='#'><span>Company</span></a></li>
<li><a href='#'><span>Author</span></a></li>
<li class='last'><a href='#'><span>Blog</span></a></li>
</ul>
</li>
If you want to add a button having drop-down and that drop-down also has a drop-down then you have to paste below piece of code:
<li class='active has-sub'><a href='#'><span>Dropdown</span></a>
<ul>
<li class='has-sub'><a href='#'><span>Dropdown 1</span></a>
<ul>
<li><a href='#'><span>Sub-dropdown 1</span></a></li>
<li class='last'><a href='#'><span>Sub-dropdown 2</span></a></li>
</ul>
</li>
</ul>
By adding above piece of code you are adding a button having a drop-down namedDropdown 1 which also have 2 drop-downs named as Sub-dropdown 1 and Sub-dropdown 2.
- To delete/remove an existing button you have to remove its code. For example if you want to remove a single button like Home now you have to remove below piece of code from code used in step 5 above:
<li><a href='#'><span>Home</span></a></li>
Similarly to remove About button you have to remove <li><a href='#'><span>Home</span></a></li> from code used in step 5.
If you want to remove a drop down you have to remove its code for example if you want to remove Sub Product buttons now you have to remove below piece of code:
<ul>
<li><a href='#'><span>Sub Product</span></a></li>
<li class='last'><a href='#'><span>Sub Product</span></a></li>
/ul>
If you want to remove single button the remove <li><a href='#'><span>Sub Product</span></a></li> but if you wish to remove both sub product buttons then you have to remove above code. Do the same if you want to remove dropdown button like products 1 or product 2.
I have deeply explained above about how to add or remove or add link in buttons or how to add or remove drop-down buttons, but if you are still confused or don't understand feel free to ask me in comments or contact me.
I hope you like this menu and this post was helpful to you, if you have any problem related to this post ask me in comments. Thank you for visiting 101Helper. If you like this post share it with others, follow and subscribe to get latest updates in your inbox. If you have any suggestion or opinion leave a comment below.
Search tags: 101Helper blogger menus, how to add floating menu in blogger, blogger floating menu, scrolling menu for blogger, sliding menu for blogger, floating menu script for blogger, blogger gadgets, 101Helper blogging tutorials, vertical floating menu for blogger,Slide from top to bottom menu for blogger, floating gadgets for blogger, Stylish menus for blogger.

http://101helper.blogspot.in/2015/01/floating-vertical-menu-for-blogger.html


0 comments:
Post a Comment